Monday, August 29, 2011

week 6 challenge - ode to school.

Some of the girls at my work do weekly challenges, and I thought I'd join in on the fun this week.  

We had to create a project using this recipe:

Navy as your main color (pattern or cardstock) - Check!
Yellow as your accent (pattern or cardstock) - Check!
Twine - Check!
Buttons - Check!
A star (chipboard, a stamp, pattern paper, however you want to add it) and last but not least - Check!
A school or office product that you might not normally use for scrapbooking or cardmaking (a paper clip, elastic bands, bulldog clip, index card, staples, etc.~ use your imagination!!) - Check! (Pens)

Here's what I came up with:
Try it for yourself and see what {YOU} come up with!

xoxo Amber

Saturday, August 27, 2011

summer ATC's.

I have to say - the girls at my work are SO much fun.  They do challenges and all sorts of exchanges.  It definitely keeps me wanting to stay crafty!

The ATC definition per Wiki is:
Artist Trading Cards (or ATCs) are miniature works of art about the same size as modern baseball cards,[1] or 2 ½ X 3 ½ inches (63 mm X 89 mm),[2] small enough to fit inside standard card-collector pockets, sleeves or sheets.[3] The ATC movement developed out of the mail art movement and has its origins in Switzerland.[4] Cards are produced in various media, including dry media (pencils, pens, markers, etc.), wet media (watercolor, acrylic paints, etc.), paper media (in the form of collage, papercuts, found objects, etc.) or even metals or cloth. The cards are usually traded or exchanged rather than sold.

This is the second round that I participated in and I really forced myself to go outside of my usual crafty zone.  I typically don't use stamps, I'm very symmetrical, and all of my colors ALWAYS match.  On this card, I used 2 stamps (embossed 1), non-matching ribbon, and a non-matching ink for the second stamp.  (the reds on this card match, but it's the only one out of 7.)  I'm very proud of how this turned out!!


xoxo Amber

Friday, August 26, 2011

cute, cute!!

My little girl is turning 1 in a little over a month.  Bittersweet...she's so much fun but she's growing up!  

I've decided to go all out for her birthday party and make all of the decorations myself.  
Here's the start of the banner:
I've decided to use Lime Twist Happy-Go-Lucky and Create-a-Critter cartridge for the Cricut to make it a monkey theme.

Definitely more to follow, but I'm so excited at how cute this is turning out that I had to share the beginning. :)  

xoxo, Amber

Friday, August 19, 2011

coasters.

My Focus Group does a mini-challenge every month, and this month Paula was in charge of it.

Here's the picture we were supposed to use as inspiration:
and here is what I came up with:
I made these 4x4 coasters for my front room.  Here's the recipe:
1.  Get ceramic tiles from a home improvement store.  I got these from Home Depot for $.16/ea!
2.  Cut your paper down to 3.75 x 3.75.
3.  Stamp and emboss your choice of image onto the paper.  Let COMPLETELY dry.
4.  BEFORE you embellish the paper, spread mod podge on the tile and place your main paper down.
5.  Embellish your coaster as desired.  
6.  Place a final coat of MP over the entire project.  
7.  Once dry, spray a coat of clear acrylic over the top to seal them.  
8.  On the back, hot glue a 4x4 pc of felt to the coaster so your table doesn't get scratched up.

Paula is also having a challenge based on this over on her blog.  See what you can come up with and link up with her!  Good luck! :)

xoxo Amber

Monday, August 15, 2011

a wedding.

Over the weekend, I had the privilege of seeing my baby brother get married to his lovely sweetheart.  It was a tender wedding and so much fun.  So happy for them.  <3

She asked me to do a few decorations for her to display when you first walk in the reception hall.  Of course I obliged!


I made the small plaques with a wood burner.  I cut out shapes using my Cricut, traced and burned them into the wood.  (Thanks Michele for the inspiration!  She's also featured on TheCrop today.)  Then just randomlly embellished them.

On the "Smith" sign, I cut the letters using my Cricut (All Mixed Up fonts), mod podged them down.  There's some black streaks on the wood from me putting the MP on the black paper - made the color kind of come off.  I was upset when this initially happened, but ended up loving the effect that it made.  Gotta love those happy mistakes!!

xoxo Amber

Friday, August 5, 2011

double trouble and a blog hop!!

Hi fellow crafty friends!
Today is your lucky day.  We're doing a Blog Hop AND you get 2 projects to see!  How fun is that?!?

Most of you know I work for the greatest company ever - seriously.  CropChocolate.com.  Click on the link if you haven't seen it before and see what it's all about!
Part of my job includes being the Design Team coordinator.  All 9 of the blogs that you've visited today are filled to the brim with awesome projects and things for you to create.  These ladies are so talented and I'm extremely lucky to be able to work with them.  
Our new "DT Year" started on August 1, and we're celebrating this weekend with a Blog Hop!  You know what that means - Blog Candy. :)   At the end of this post, you'll have instructions as to what to do to win that blog candy.   Until you get there, here's 2 projects - 1 from LMissCrafter - Jamie and 1 from myself.

From Jamie, a sweet little card:
Jamie is also on the Design Team, but is having a fabulous vacation with her family so we're double teaming my blog today!
 Welcome Little Sprouts Card 
I created this fun little card for a good friend of mine that just had identical twin boys!  They are over the moon happy and extremely busy as you can imagine.  I couldn't help but use some of the cute new Fine and Dandy papers that I just got from Crop Chocolate.  Having two little girls myself, I don't make masculine themed cards that often.  It is always a challenge for me to come up with good boy color combos, but these papers made it easy.  I am thrilled with the results and hope my friends are too.

Materials:
Kraft cardstock, Fine and Dandy by My Mind's Eye papers, Unity stamp set - Little Sprout, seam binding ribbon and bling from my stash. 

Instructions:
1. Start with a 5" x 5" kraft cardstock card base.
2. Adhere a 4.75" x 4.75" piece of patterned paper to the front of the card.
3. Stamp images onto patterned paper and cut them out.
4. Use foam adhesive to attach images to card front and embellish as desired.

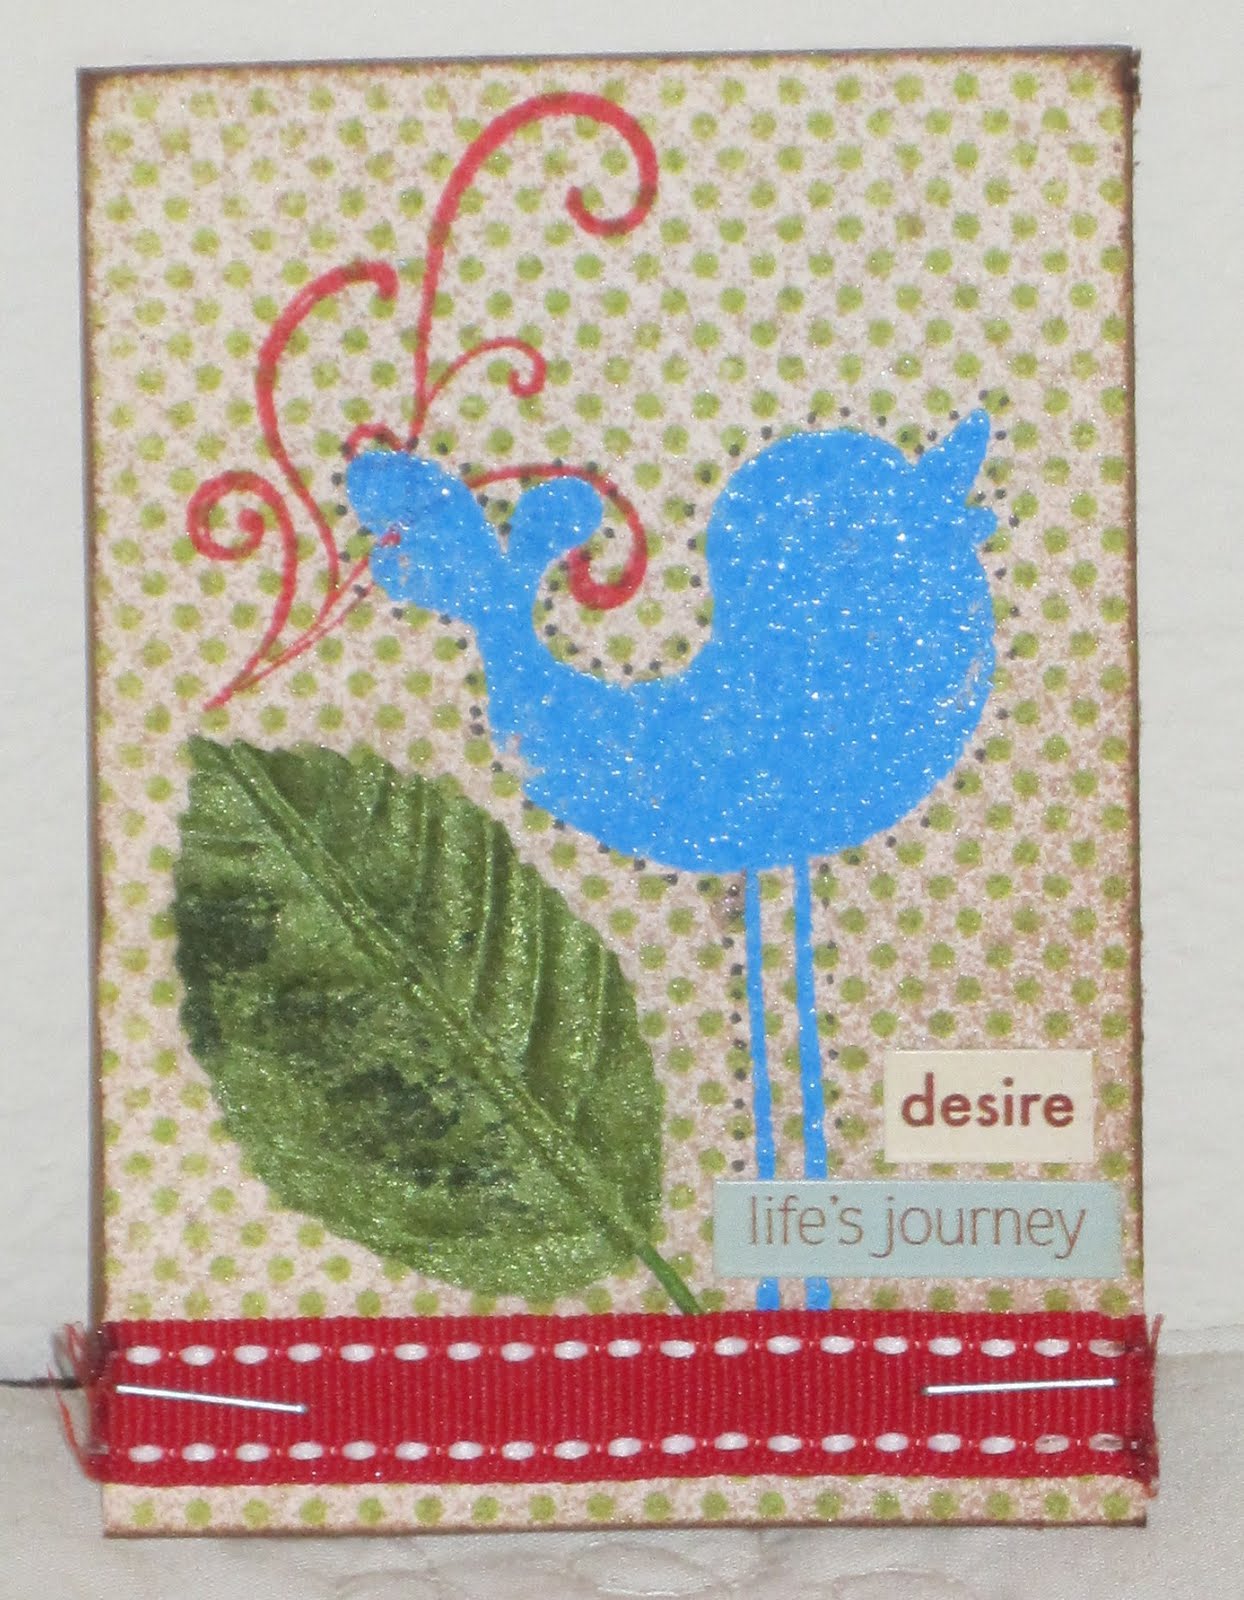
From Amber - another sweet little card:
 This actually started out as a silly RIP card for ScrappyCanuck - Karen's Cricut which died a short time ago. :)  I was trying to be silly when making it, but I ended up making it pretty serious and I love how it turned out!

I used:
So Sophie Paper:  Birds of a Feather and Family Ties.
Random White Core Cardstock
So Sophie: Savvy Anything for You Clear Overlay
Tim Holtz Walnut Stain Distress Ink
Lost&Found - Market Street "Adore" Trims
Lush - Blue Brads
Making Memories Slice Digital Cutter
Random "Thinking of You" rub-on sentiment, silver staples, and sanding block.

Directions:
1. Cut your main paper to whatever size of card you'd like to use.  I used 4.25x5.5.  Fold in half.
2.  Take the TH Distress Ink and distress the front side of the card.
3.  Tear or cut a strip of different, coordinating paper and with the clear overlay, staple them down on the left side.  
4.  Take your white-core cardstock, and with your Slice machine, emboss the flower.  On the raised side of the cardstock, take your sanding block and lightly rub over the shape until it's distressed enough for you.  Tear around the shape, stick a brad in the middle, and glue down onto card.
5.  Take a trim and tie around the card.
Ta-da!!  You're done. :)

HOPPITY HOP!
Now, for the Blog Hop.  You probably got here from the fabulous Miss Alissa's blog.  If you randomly stopped in at my blog, please go to CropChocolate.com's Blog for details on where to start!  Follow it around until you get here.  Once you're here, you'll want to leave a comment and follow my blog!  After doing so, go back to CropChocolate.com's Blog, and leave a comment stating that you visited each of our blogs and would love to win the Blog Candy!!  What's the prize going to consist of you ask?  Well, first and foremost a Slice machine!!  There'll be some other random goodies like design cards, and random other scrappy goodness to be won so you won't want to miss out.

Thanks for stopping by! :)

xoxo Amber

Thursday, August 4, 2011

blog hop.

CropChocolate.com and our {NEW} Design Team will be hosting a Blog Hop that's going to run through the weekend!  

There's {FABULOUS} Blog Candy to be won so you don't want to miss out!  Check out Crop Chocolate's blog tomorrow morning at 10am mountain time to see how you can win and see some great projects to create yourself!